Installing Splunk Universal Forwarder
If you have chosen an architecture option where uberAgent interacts with Splunk through Splunk’s Universal Forwarder you need to install Universal Forwarder on every machine along with uberAgent.
The following description shows you how to install and configure Universal Forwarder for uberAgent. In this example, the Splunk server’s FQDN is srv1.hk.test.
Installation
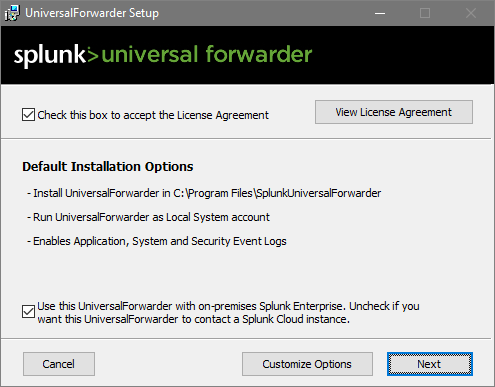
Launch the Universal Forwarder MSI file. Accept the license agreement and click Next.
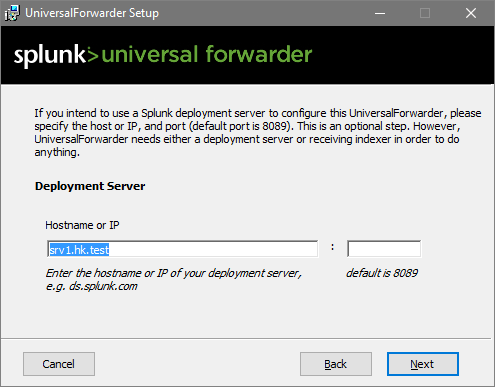
Deployment Server
If you have Splunk Enterprise, you can use Splunk’s Deployment Server functionality to deploy apps. In that case, specify the Splunk server name. You can leave the port empty to use the default. If you have Splunk Free leave both fields empty.
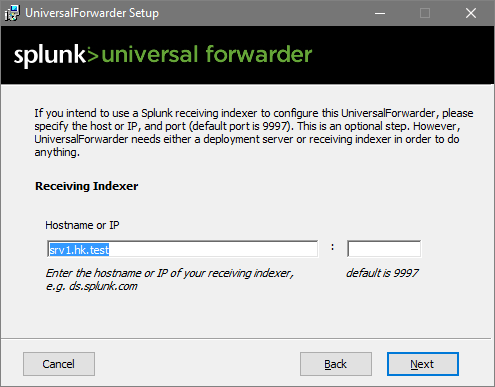
Indexer
Specify the name of your Splunk Indexer. In this simple walkthrough, our Splunk server also acts as an indexer. Again, the port is left at the default value:
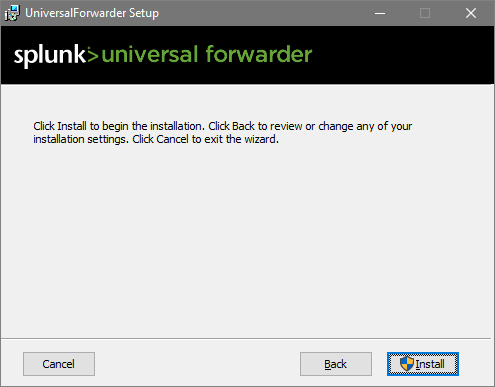
Finished
That’s all!
Configuration
Receive uberAgent Data via TCP Port
If you want Universal Forwarder to handle all Splunk communications, you need to configure uberAgent to pass its output to Universal Forwarder on the same machine. To do that, open a TCP port uberAgent can send data to by adding the following to $SPLUNK_HOME\etc\system\local\inputs.conf on your Universal Forwarders:
[tcp://127.0.0.1:19500]
connection_host = none
sourcetype = dummy
listenOnIPv6 = no
acceptFrom = 127.0.0.1
Note: $SPLUNK_HOME refers to the base directory of the Splunk (Forwarder) installation, typically C:\Program Files\SplunkUniversalForwarder.
If you are deploying the uberAgent_endpoint app, port 19500 is opened for you automatically (details).
Disable Universal Forwarder Eventlog Data Collection
A default installation of Universal Forwarder sends all data from the Windows Application, Security, and System event logs to Splunk. If you do not need that, edit $SPLUNK_HOME\etc\apps\Splunk_TA_windows\local\inputs.conf so that all stanzas are disabled as in the following example:
[WinEventLog://Application]
disabled = 1

[WinEventLog://Security]
disabled = 1

[WinEventLog://System]
disabled = 1
Unattended (Silent) Installation
You can find all the information required for automating the deployment of Universal Forwarder here.
Preparation for Imaging/Citrix PVS
If you intend to copy the installation via an imaging method or Citrix PVS, you need to remove instance-specific information such as server name and GUID from the Universal Forwarder installation. To do that, follow these steps right before capturing the image:
- Stop the service
SplunkForwarder(but leave the start type atautomatic). - Open an administrative command prompt.
- Run the command:
C:\Program Files\SplunkUniversalForwarder\bin\splunk clone-prep-clear-config. - Prepare the machine for cloning as necessary, but do not reboot.