Installing and Configuring Elasticsearch & Kibana
This document explains how to install Elasticsearch/Kibana for uberAgent (in this simple tutorial we assume that you only have a single, Windows-based server).
Prerequisites
- Download Java SE JDK x64
Recommendation is to install Java version 1.8.0_131 or a later version in the Java 8 release series. - Download Elasticsearch
- Download Kibana
Java
Run the installer, e.g. jdk-8u202-windows-x64.exe.
Set the JAVA_HOME environment variable, e.g. by running the following command on an elevated command prompt:
setx JAVA_HOME "C:\Program Files\Java\jdk1.8.0_202" /mElasticsearch
Installation
Install the appropriate MSI file, e.g. elasticsearch-6.6.0.msi.
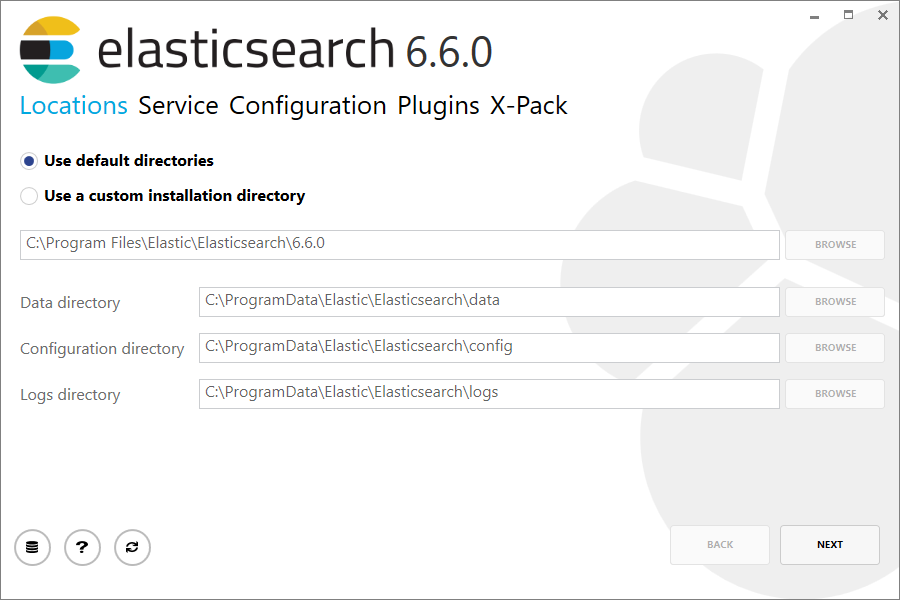
Use default settings.
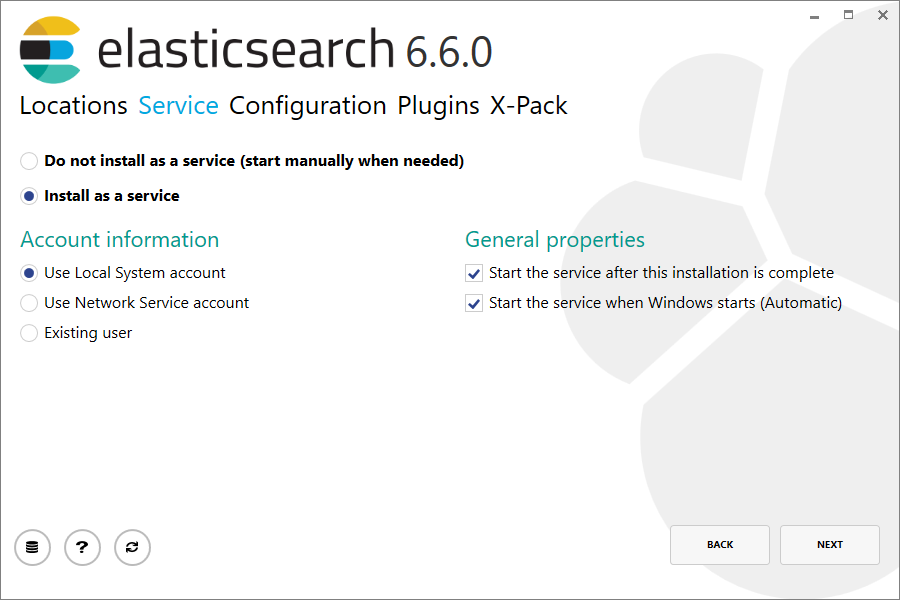
Automatically install Elasticsearch as a Windows service in the context of LocalSystem.
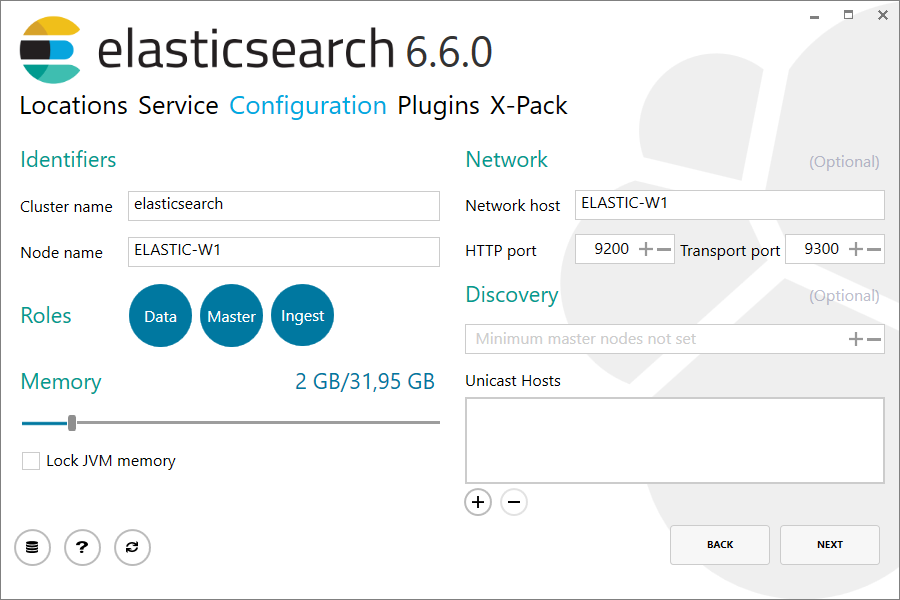
Optional: configure network binding during installation.
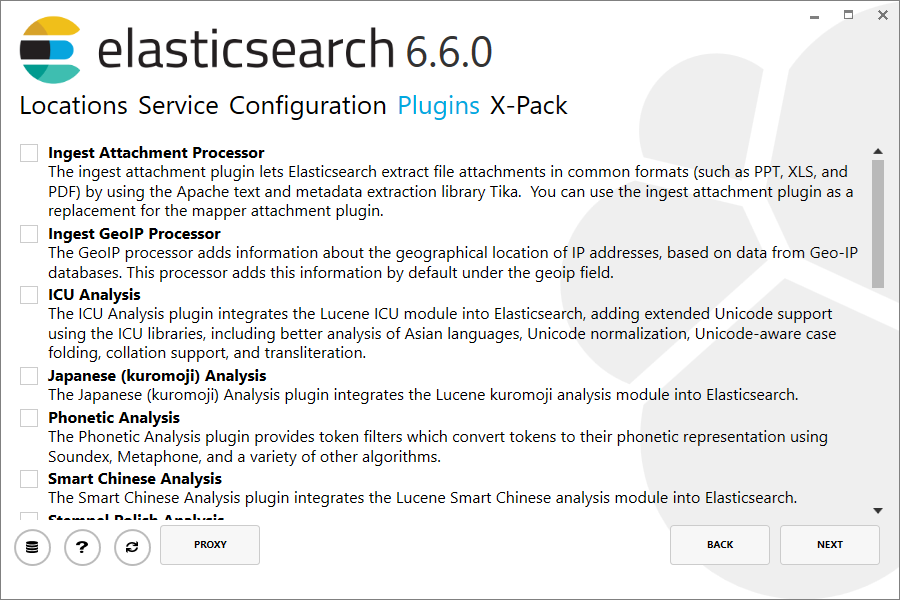
Optional: enable plugins.
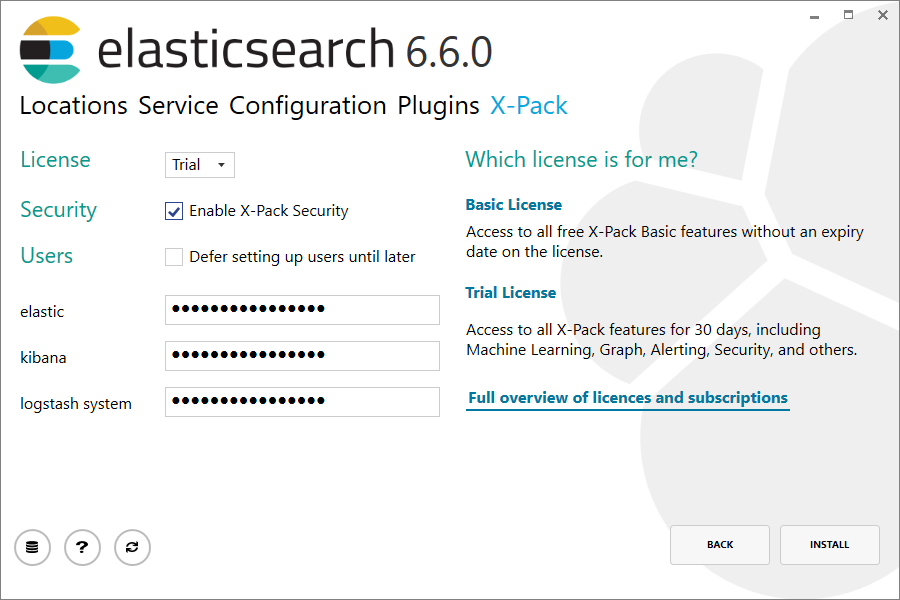
Optional: choose the X-Pack license mode and setup passwords.
Finish the installation process.
Configuration
Elasticsearch is configured through the config file C:\ProgramData\Elastic\Elasticsearch\config\elasticsearch.yml.
By default Elasticsearch listens on port 9200, but only on loopback addresses. To configure Elasticsearch to listen on local addresses, too, add the following:
network.host: ["_local_", "_site_"]
Settings that most likely should be configured, too, but are not required:
- cluster.name
- node.name
Once you have finished configuring Elasticsearch, restart the system service Elasticsearch, e.g. through PowerShell:
Get-Service Elasticsearch | Restart-Service
Configuration for uberAgent
Elasticsearch 6.x
Run the following PowerShell command on the Elasticsearch server to create an index template for uberAgent with the required field definitions:
Invoke-RestMethod -Uri http://localhost:9200/_template/uberagent -Method Put -InFile .\elasticsearch-uberagent.json -ContentType "Application/json"
On Linux use:
curl -XPUT -H 'Content-Type: application/json' http://localhost:9200/_template/uberagent [email protected]The file elasticsearch-uberagent.json is part of the uberAgent download package.
If you enabled X-Pack security you need to pass the elastic user (configured during the setup) for the commands above. On Windows use the -Credential parameter, for Linux -u.
Elasticsearch 7.x
Run the following PowerShell command on the Elasticsearch server to create an index template for uberAgent with the required field definitions:
Invoke-RestMethod -Uri http://localhost:9200/_template/uberagent?include_type_name=true -Method Put -InFile .\elasticsearch-uberagent.json -ContentType "Application/json"
On Linux use:
curl -XPUT -H 'Content-Type: application/json' http://localhost:9200/_template/uberagent?include_type_name=true [email protected]The file elasticsearch-uberagent.json is part of the uberAgent download package.
If you enabled X-Pack security you need to pass the elastic user (configured during the setup) for the commands above. On Windows use the -Credential parameter, for Linux -u.
Kibana
Installation
Unzip the Kibana archive to a directory of your choice. In this guide we are going to use C:\Program Files\Kibana. You should now have a directory C:\Program Files\Kibana\bin.
To manually run Kibana execute Kibana.bat from the bin directory
Configuration
Kibana is configured through the config file C:\Program Files\Kibana\config\kibana.yml. In the default configuration Kibana connects to the local Elasticsearch instance on port 9200.
To enable logging create the directory C:\Program Files\Kibana\log:
md "C:\Program Files\Kibana\log"
In Kibana.yml add:
logging.dest: "C:/Program Files/Kibana/log/Kibana.log"
By default Kibana listens on port 5601, but only on loopback addresses. To configure Kibana to listen on local addresses, too, add the following:
server.host: "0.0.0.0"
With X-Pack security enabled, also add elasticsearch.username and elasticsearch.password to the kibana.yml file.
Running Kibana as a Windows Service
Download NSSM and extract NSSM.exe to C:\Program Files\NSSM.
To create the Kibana service:
"C:\program files\nssm\nssm.exe" install "Kibana" "C:\Program Files\Kibana\node\node.exe" "\"C:\Program Files\Kibana\src\cli\""
The startup type will be automatic. Now start the Kibana service.
Access Kibana in your Browser
The following works best if you already have uberAgent data in Elasticsearch.
- Navigate to the URL
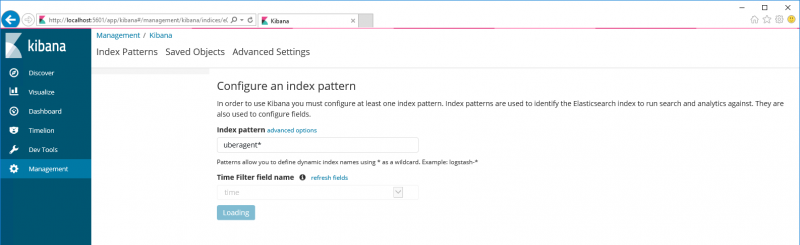
http://kibana-server:5601. - You will be asked to configure an index pattern.
- Enter as index name: uberagent*.
- Leave the time field selection at “time”.
Your screen should now look similar to this:
Firewall
Open these ports for inbound communication on the Elasticsearch/Kibana server:
- 9200, TCP, Elasticsearch HTTP REST endpoint (where uberAgent sends its data)
- 9300, TCP, Elasticsearch cluster communication (not required if there is only one server)
- 5601 TCP, Kibana (web interface)
Install uberAgent
Read on about how to install uberAgent.
To configure uberAgent to send data to Elasticsearch a configuration section similar to the following is required:
[Receiver]
Name = Default
Type = Elasticsearch
Protocol = HTTP
Servers = http://servername:9200